
Products Used
Stamp Mat Pad, D110305Funnel Tray, 31510
Designer Dries Clear Adhesive, 159723
Metal Tip for Adhesive Bottles, 352854
Stamp Positioner Kit, 387623
Tombow Dual Brush Marker N00 Blender, 282873
Vellum Paper - 10 Sheets, 242174
Memento Dye Ink Pad - Bamboo Leaves, TSMP707
Memento Dye Ink Pad - Tuxedo Black, TSMP900
ColorBox Fluid Chalk Ink Pad - Lipstick Red, 71037
Deluxe Flower Shaping Kit, HCST1-401
ColorBox Pigment Ink Pad - Frost White, CB80
Embossing Powder - White, RPEJ685
Large Sparkling Poinsettia Cling Stamp Set, HCPC-3679
Sparkling Poinsettia Cling Stamp Set, HCPC-3680
Large Sparkling Poinsettia Die, HCD1-765
Sparkling Poinsettia Die, HCD1-766
Scor-Pal Measuring & Scoring Board, 173842
Classic Border Basics Die, HCD1-7119
Nuvo Crystal Drops - Dandelion Yellow, NU673
Stack and Store Daubers-Pack of 30, HCDA2-450
Rajni Chawla's Crystal Clear, PGM15015
Festive Holly Paper Collection, HCDP1-280
Holly Berry Jingle Die, HCD1-7147
Festive Holiday Cling Stamp Set, HCPC-3792
Holly Berry Jingle Cling Stamp Set, HCPC-3793

Other Products: Red and white card stock, Ribbon, PrimsaColor pencils,1098;950;943;923;924;914;909, ScoreTape
Watch this video on how to use the Classic Border Basics die HERE
Watch this tutorial for tips on creating vellum poinsettias HERE
Instructions: Begin by cutting a 6 x 6" piece of red cardstock and adhere a piece of ribbon about 18" long, cut another piece of red cardstock 6 x 7" and score 1/2" and 6 1/2".
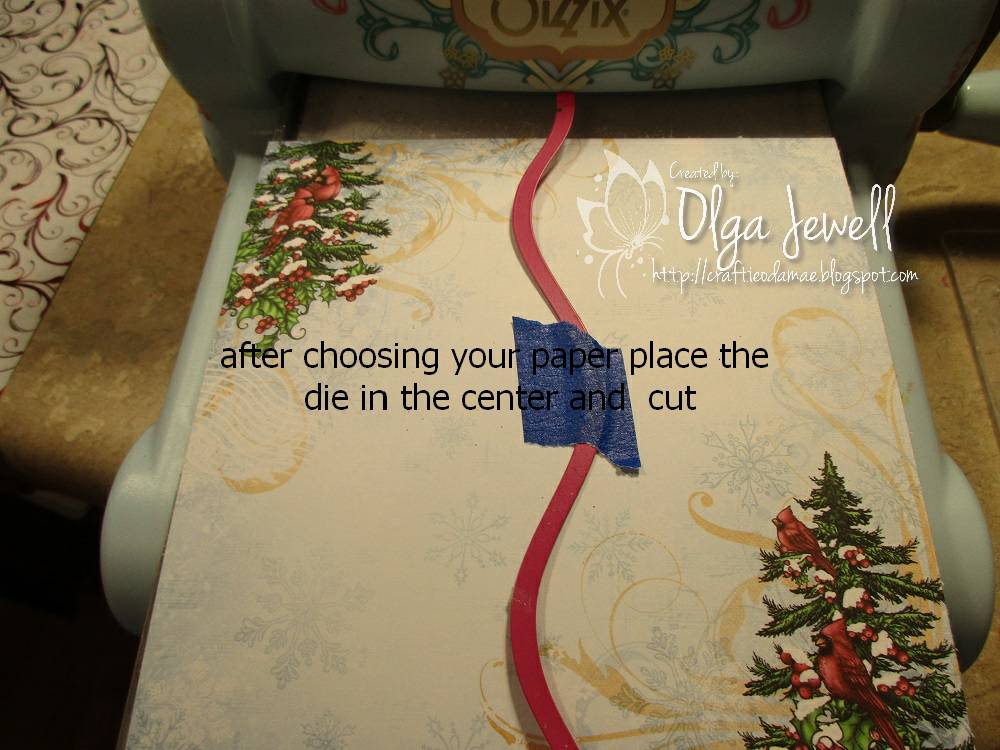
Place the Classic Border Basic dies in the center of the 6 x 7" one and run through your machine, now you have 2 pieces, one for the left and one for the right. Apply Score tape on the back at the 1/2" you scored on each end and adhere to the 6 x 6" piece. This is your card base. Choose the 6 x 6" card front from the Festive Holly Paper Collection and adhere to the inside of the card. Choose more of the paper from the pack and using another of the Border dies cut to where it will go on the inside left and right. Use the stamp positioner and stamp sentiments on both sides and 2 more for the outside of the card. Tie the card shut.
Stamp the Holly Berry Jingle image on white card stock with the Black Memento ink and color in with the pencils, I also used the blender pen to hide pencil marks. Die cut using the matching die, die cut another one out of thin chipboard and adhere together, add to the left side of the card. Stamp the poinsettias and leaves on vellum with the White Color Box ink and emboss with the white embossing powder. Heat Set. Color vellum from the backside using stack and store daubers. Color Poinsettia's with the Lipstick Red ink and the leaves with the Bamboo Leaves ink.
Die cut with the matching dies, shape and adhere to card. To finish add the Crystal Clear Powder to the leaves, flowers and snow in the image. Add yellow crystal drops to the center of the flower.


Hope you have enjoyed and take away some inspiration, be sure and check out my teammates blogs for more inspiration....
11 comments:
Thank YOU Olga for this tutorial. I have been making or trying to make, cards like this but used the dies individually and never turned out. This is logical way of making it and so appreciate your tutorial.
Beautiful and admirable card..lovely papers too.xx
[aNNie]
Wow...beautiful card Olga and awesome tutorial!
Wow, you outdid yourself this morning!
I love gatefold cards and doing the curved edges is so brilliant!! What a great tutorial in photos as well! Excellent! Beautiful!
Such an amazing creation Olga!! Beautiful papers and thanks for the wonderful tutorial! :)
Oh WOW Olga....this is just beautiful.
great little tutorial, love your card
Gorgeous card and the tutorial is great!
what a beautiful design!!
Fantastic design and tutorial, Olga! Those beautiful die cut edges add such a sophisticated look to a gatefold card! Wonderful!
Stunning card and great tutorial! Thank you so much for sharing your creative process to make this beautiful Christmas card. People on your mailing list must be really excited when Christmas comes around!!!
Post a Comment